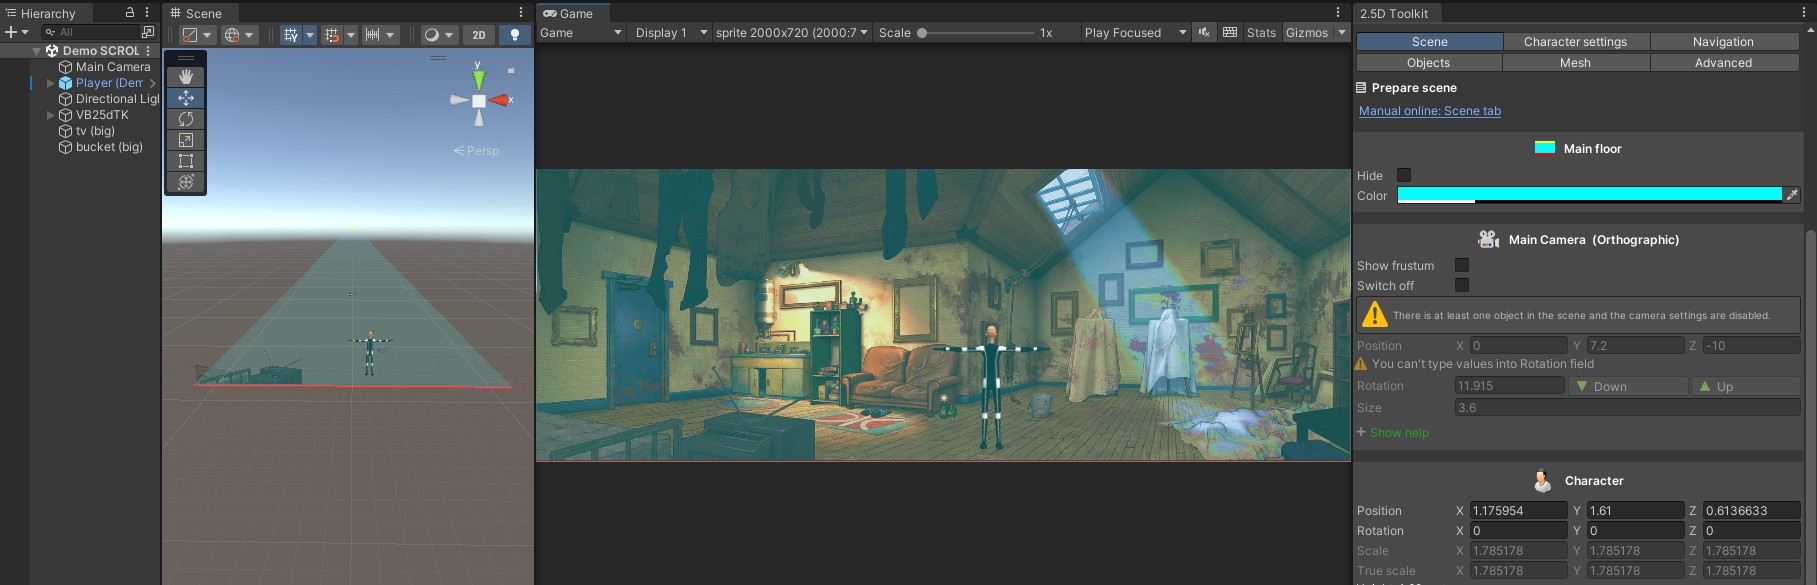
Character assignment
Unity cannot save references to scene objects inside prefabs.
For this reason, the ‘Character’ field in the DataEngine is always empty after export.
After importing the scene into your target project:
- Assign your character manually to the ‘Character’ field of VBEngineTK Full or VBEngineTK Lite.
The scene will load normally, but certain systems managed by the Data Engine will not operate until the character has been assigned.
Note:
The exported character prefab includes:
- Animator
- Character controller
- NavMesh Agent
- 2.5D Toolkit movement script
When using the scene in a third-party adventure framework, the movement script from 2.5D Toolkit must always be removed, because movement will be handled by the external system.
The use of the NavMesh Agent depends on the framework:
Some frameworks automatically add their own NavMesh Agent through their setup wizard.
In this case you should remove the exported NavMesh Agent to avoid duplicates.
Other frameworks may require you to keep the NavMesh Agent already included in the exported character.
Follow the instructions of the external tool you are using.
The Animator and the character controller should normally be kept, unless the external framework requires its own custom controller.
* Suggestion *
For use with external frameworks, prefer the Root Motion controller instead of the NavMesh-Agent-based controller.
Most third-party adventure systems use Root Motion for character movement.
If you choose this workflow, remember to enable Apply Root Motion in the Animator.
Note:
If you intend to use depth-based forced scaling, your character must be present in the scene hierarchy.
Spawned or runtime-instantiated characters cannot be used, because the Data Engine requires a direct scene reference to calculate scale interpolation.


