Rebuilding scene in Adventure Creator

Overview

In this guide, we assume you are already familiar with Adventure Creator.
We will not cover its initial setup or the many tools it provides.
Instead, we focus exclusively on how to export a scene from the 2.5D Toolkit, import it into AC, and configure only the elements required for a correct and reliable setup.

Exporting a scene works the same way regardless of the projection mode.
Whether you use Perspective or Orthographic, the steps do not change.

Note: in Orthographic projection, once the scene is imported into AC, you must use AC’s built-in character scaling tools.
In the 2.5D Toolkit this feature is handled by its own movement scripts, which cannot be used inside AC.

At the end of this demonstration, we will also cover the few additional steps needed to manage character force-scaling in AC.

Scene Export

For this demonstration, we will use two example scenes included in the toolkit:

  • Scrolling Perspective, which uses a background sprite
  • NicoHome Orthographic, which uses a background camera

Together, they cover both projection modes.
You can follow the same workflow with your own scenes as well.

Note:
Before exporting, remember to assign the Root Motion controller to your character from the Scene tab, under the Character section, by enabling Use Root Motion.
This will make the setup in Adventure Creator much faster and greatly simplify its initial configuration.

Go to the Advanced tab and set the options according to your needs.

For a detailed explanation of all available settings, refer to this page.

When you’re ready, click Export.
Your entire scene — including all objects, data, and configuration — will be saved in the default export folder.

Importing the Scene into AC

To get an accurate preview, set the Game View resolution to match the size of the background image used in your scene (whether it is displayed as a sprite or through a background camera).

In the AC Game Editor, choose whether your scene should be organised with folders or without folders, then set the projection mode to 2.5D.

Next, browse the Project Window and locate the export folder generated by the 2.5D Toolkit.

You may drag all exported objects into the scene immediately, but for this demonstration we will follow a more structured workflow.

Important note:

The tutorial below demonstrates how to manually import a 2.5D Toolkit scene into Adventure Creator, including copying the objects and setting up the cameras by hand.
Starting from version 3.10.0, all these manual steps can be skipped by using the One-Click Import Tool, which automatically configures the scene, objects, and camera.

Steps differ based on the type of scene you exported

If your scene uses scrolling (background sprite)

  • Start by dragging the background sprite into the scene.
    The image will appear only partially visible in Game View because the camera still needs to be configured.
    As you already know, a scrolling scene cannot use a 2.5D background camera.
    So drag GameCamera2D from AC’s Prefabs/Camera folder into the scene and set Projection to Perspective.
    Now, in the export folder, open the Text Data directory, and load the file named [SceneName] (Data).
    Inside this file, you will find a complete list of all exported objects along with their stored data.
    Scroll to the [Main Camera] section and copy the stored values.
    Then, drag GameCamera2D into AC’s Default Camera field and make sure its Camera component is enabled.

If your scene uses a background camera

  • Click 2.5D Camera in AC’s Game Editor to create a new 2.5D camera.
    In the Hierarchy, select the camera you just created.
    In the Inspector, under Background image, click the small “+” icon next to the Background field.
    Now go back to the Hierarchy and expand:
    • _SetGeometry
      • _BackgroundImages
        • GameCamera2.5D

    Select GameCamera2.5D. In the Inspector you will see a Texture field.
    Drag into this field the background image you originally used in 2.5D Toolkit (from your original project folder, not from the export folder).
    Next, in the Hierarchy, select the main GameCamera 2.5D and click Set as active.
    The background image will now appear correctly in the Game View.
    Now open the Text Data folder inside the export directory and load the file [SceneName] (Data) to view all stored values.
    Scroll to the [Main Camera] section, set the AC Main Camera to Orthographic projection, and copy the stored values.
export_to_AC_002

Shared steps (apply to both scene types)

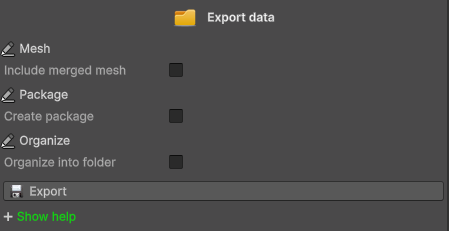
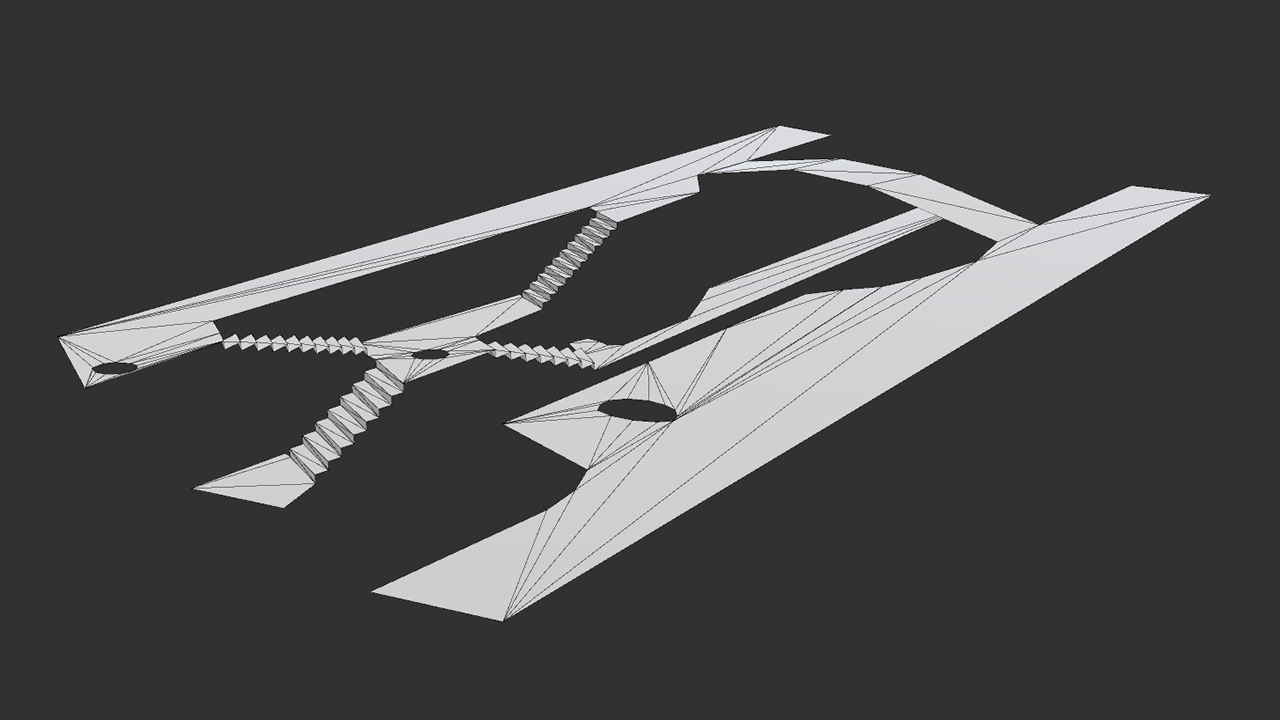
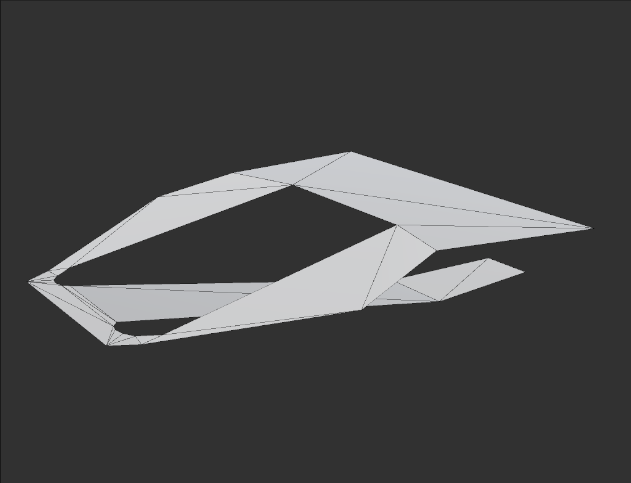
Drag the mesh prefab from the export folder into the scene.
It will appear in the correct position automatically.

Select it and set its Layer to NavMesh.
You should also assign a material and shader that make it fully transparent.
In the Shading folder of 2.5D Toolkit you can find example materials you can use as a starting point.

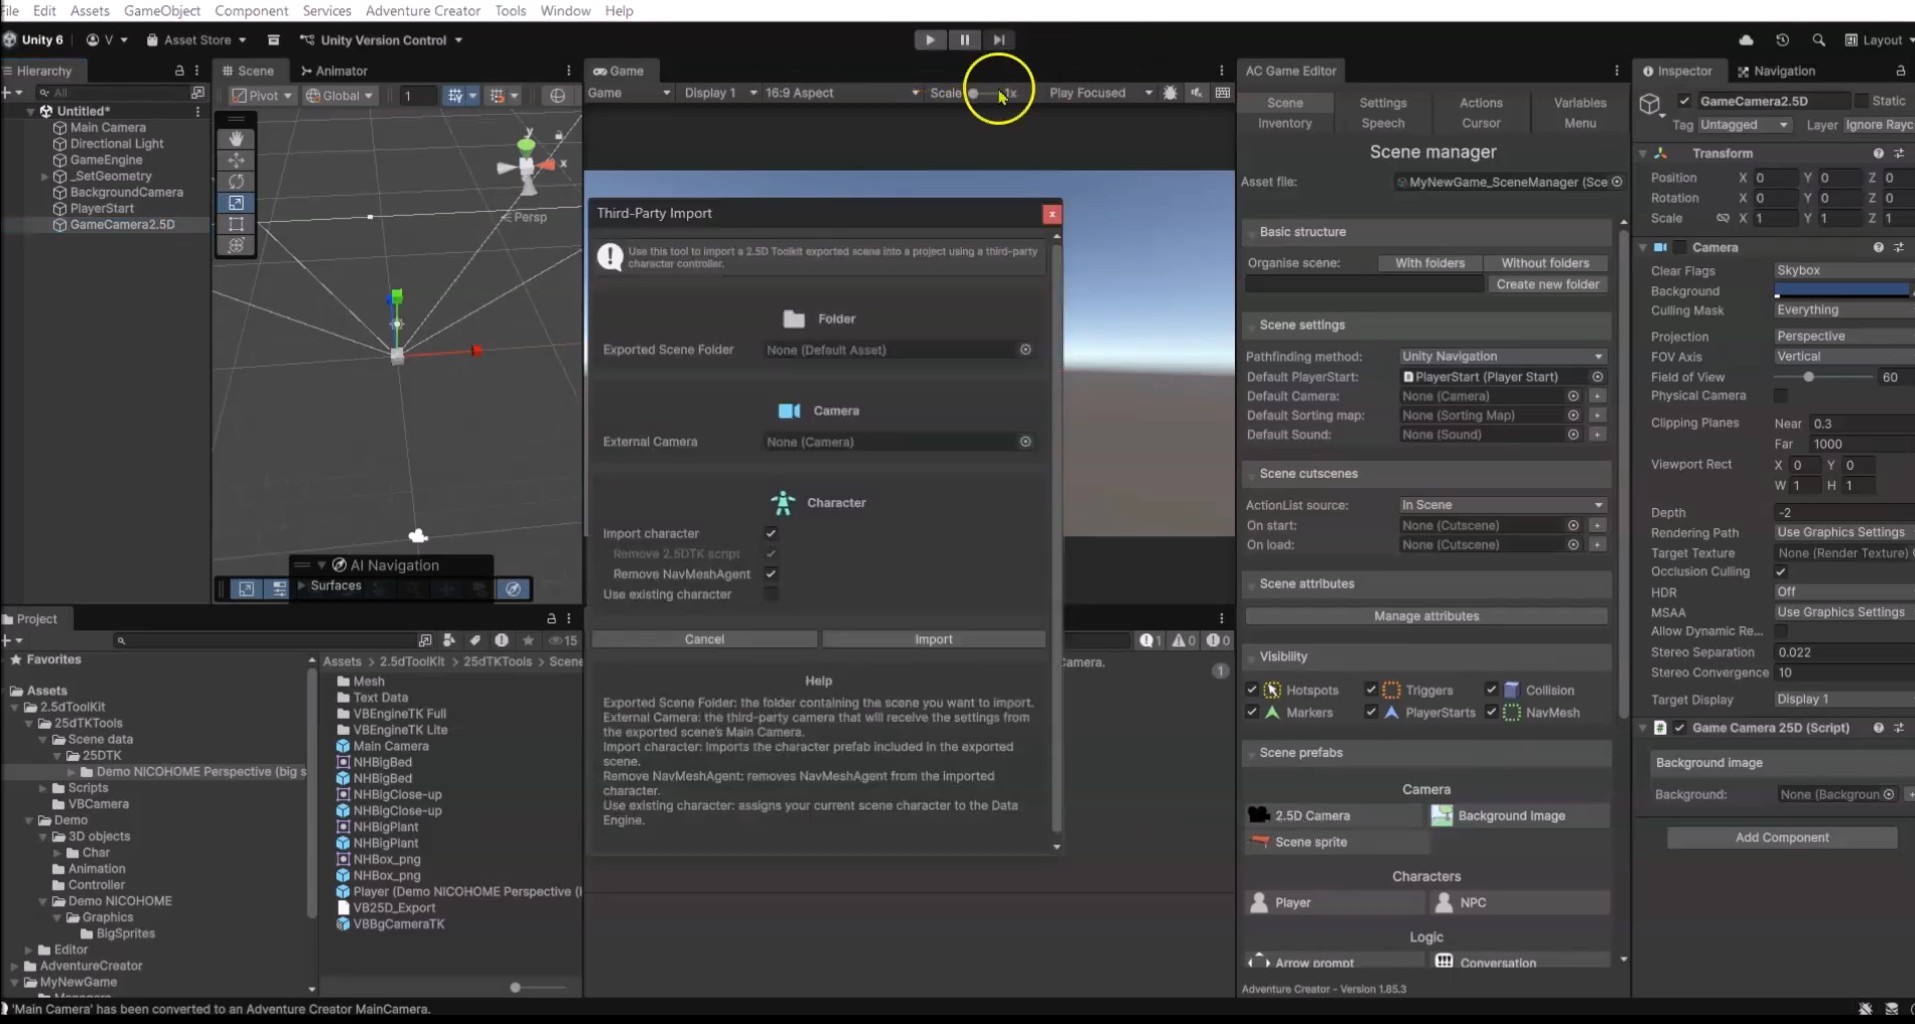
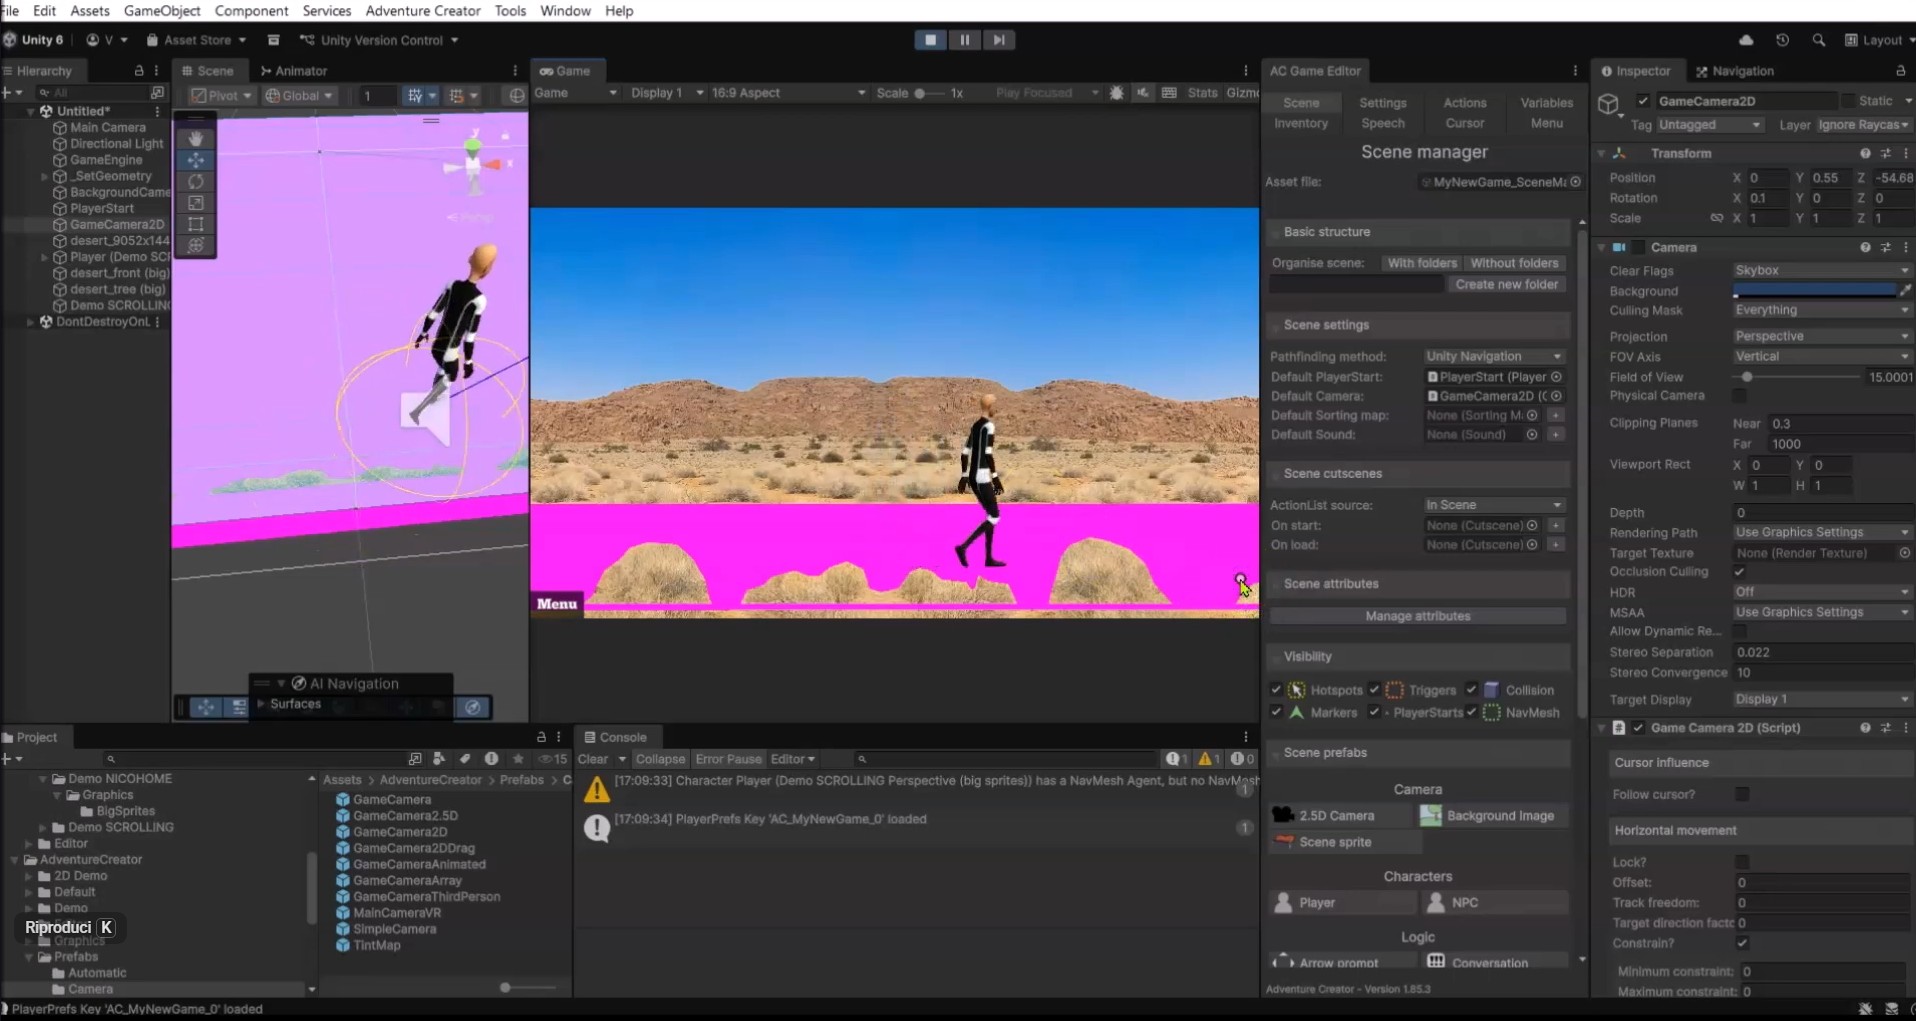
Drag the character into the scene – it will be placed exactly where it was saved.

Remove the following components:

  • 2.5D Toolkit movement script
  • NavMesh Agent

Now open the AC Character Wizard and choose NavMesh Agent as the Motion control.
AC will add all required components automatically.

In the Player component:

  • Under Mecanim Parameters:
    • Change Move speed float from Speed to MoveSpeed
    • Remove IsTalking from Talk bool
  • Under Movement:
    • Set Walk speed scale = 0.5
    • Set Run speed scale = 1

If you don’t plan to use it, remove the Character Controller.
Otherwise keep it and adjust its values using the recommendations found in the community forums.

In the NavMesh Agent component, set the correct Height while visualising the collider in Scene View.

Copy the character’s position and paste it into the PlayerStart object in the Hierarchy.
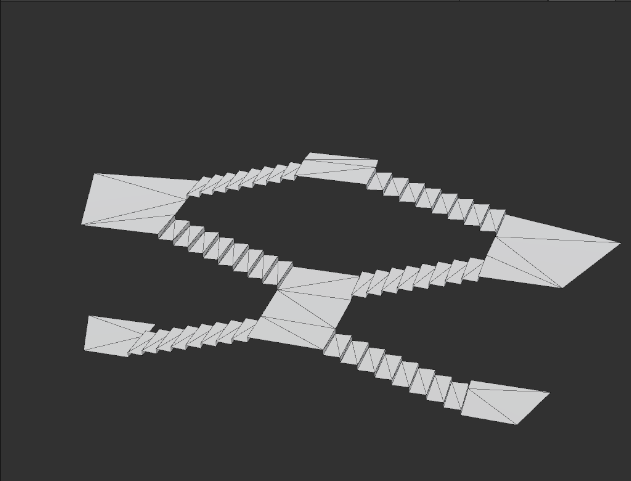
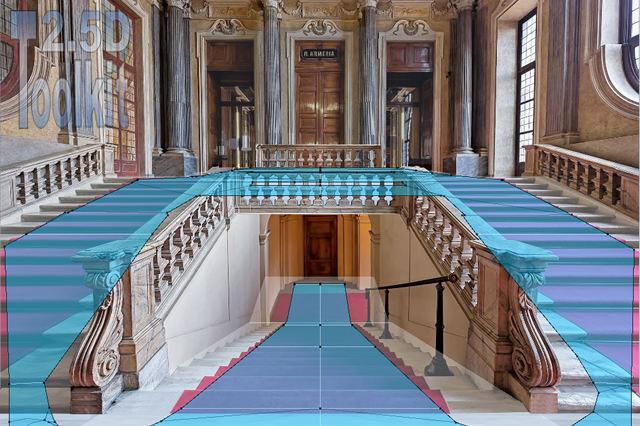
Bake the NavMesh.
For a more accurate result, reduce the Agent Radius if the NavMesh does not cover the whole walkable area.

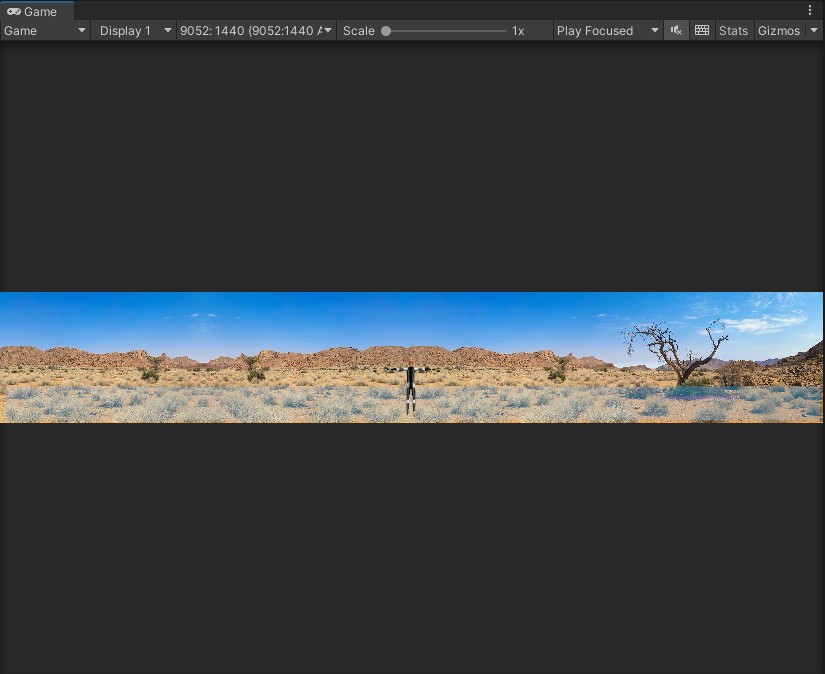
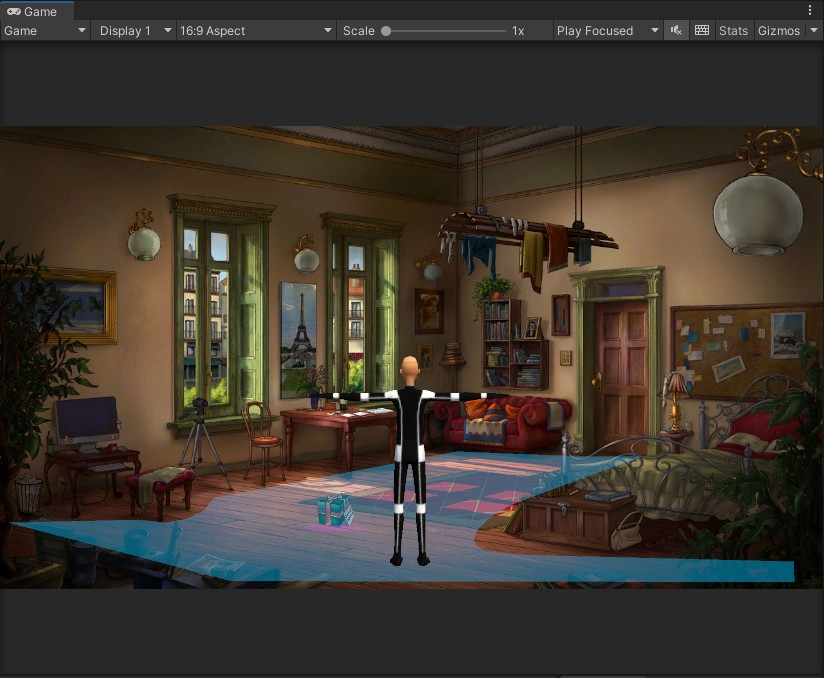
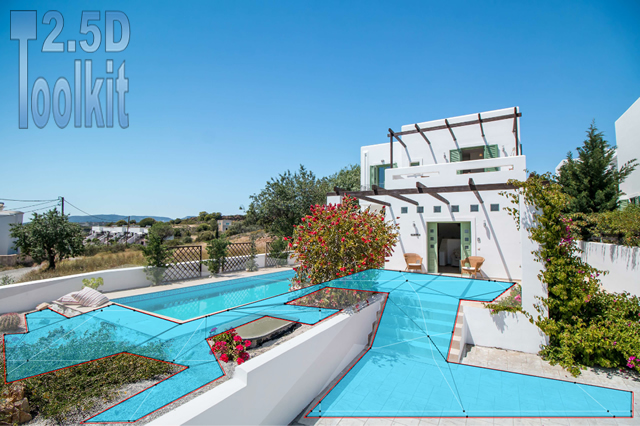
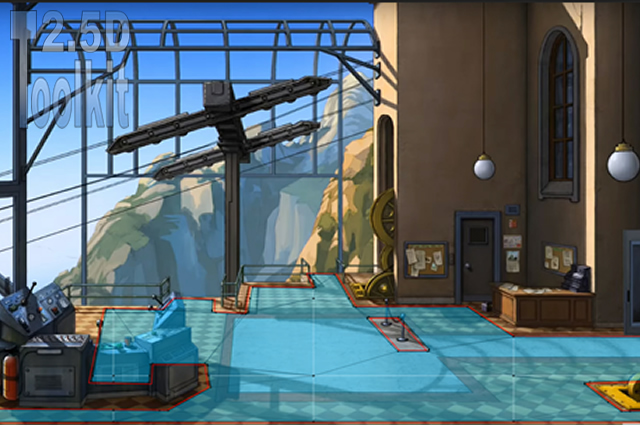
Finally, you can drag the 2D and 3D object prefabs into the scene – they will automatically appear in the same positions they had in the original scene.

Your scene is now rebuilt and ready to be managed in AC.

Additional required step

For scrolling scene

Enter Play Mode: the character should walk and run correctly, but with a Game View resolution smaller than the background sprite, you will notice that scrolling does not activate yet.

Set the Game View to a lower resolution (for example, 16:9), then select the GameCamera2D.

Under Horizontal movement:

  • Disable Lock?
  • Enable Constrain?
  • Adjust Minimum / Maximum constrain so that the left and right edges of the sprite line up with the Game View borders.

Take note of these two values, exit Play Mode, and re-apply them.

Now when you press Play again, horizontal scrolling will behave correctly – it will follow the character smoothly and stop precisely at both ends of the scene.


For Orthographic scene

Once all steps above are complete, the scene is ready to use.
However, the character will not scale automatically: in Orthographic projection, the depth-based resizing in 2.5D Toolkit is handled entirely by its custom movement scripts, which cannot be used in Adventure Creator.
For this reason, you must use AC’s built-in scaling tool to reproduce the character resizing according to your needs.

Managing depth-based force scaling

If, while creating your scene in 2.5D Toolkit using Perspective projection, you enabled the Character depth scaling tool, you can reproduce the same behaviour in Adventure Creator by following these steps:

Drag VBEngineTK from the VBEngineTK Lite folder inside the export directory into your AC scene.
Select it and assign your character to its Character field.
Note: to use this tool, the character must already exist in the scene. Spawned characters are not supported.

The script will automatically scale the character based on the parameters you defined in 2.5D Toolkit.
Depth-based scaling works both in Edit Mode and in Play/Build Mode.
If you wish to disable this behaviour, simply uncheck Depth scaling.

Inside the VBDataEngineTK component you will also find the Rescale Timing dropdown, which lets you choose when the scaling should occur:
LateUpdate (recommended), Update, or FixedUpdate.
Choose the option that matches your character controller: Update if your controller moves the character in Update, FixedUpdate for Rigidbody-based controllers, and LateUpdate for standard setups or when unsure.

Important: when Depth scaling is enabled, you will not be able to manually resize the character using the Inspector, as its scale is driven by the script.